If you keep up with tech trends, you likely already know that GraphQL is one of the newer breakout technologies that people are gushing about. It’s an open source specification created and used by Facebook’s Engineering team that can be used to push and pull data between APIs and apps. REST APIs have traditionally been used for that purpose, but GraphQL has several advantages over them that you can read more about here.
If you work on the WordPress platform, you’ll be happy to learn that a GraphQL implementation exists for WordPress – the WPGraphQL plugin! The project was started by Jason Bahl and is being actively being developed by him and a number of other contributors. In this post, I’ll walk you through building a sample app that uses React and Apollo Client in the browser to fetch data from a WordPress site that’s running WPGraphQL. Let’s roll! ????????
Building Our App
We’re going to build an app that allows you to search for blog posts. If any matches are found on the server, WPGraphQL will send back the data we requested for each post and our React app will render cards to the page for the matching posts. Here it is in action:
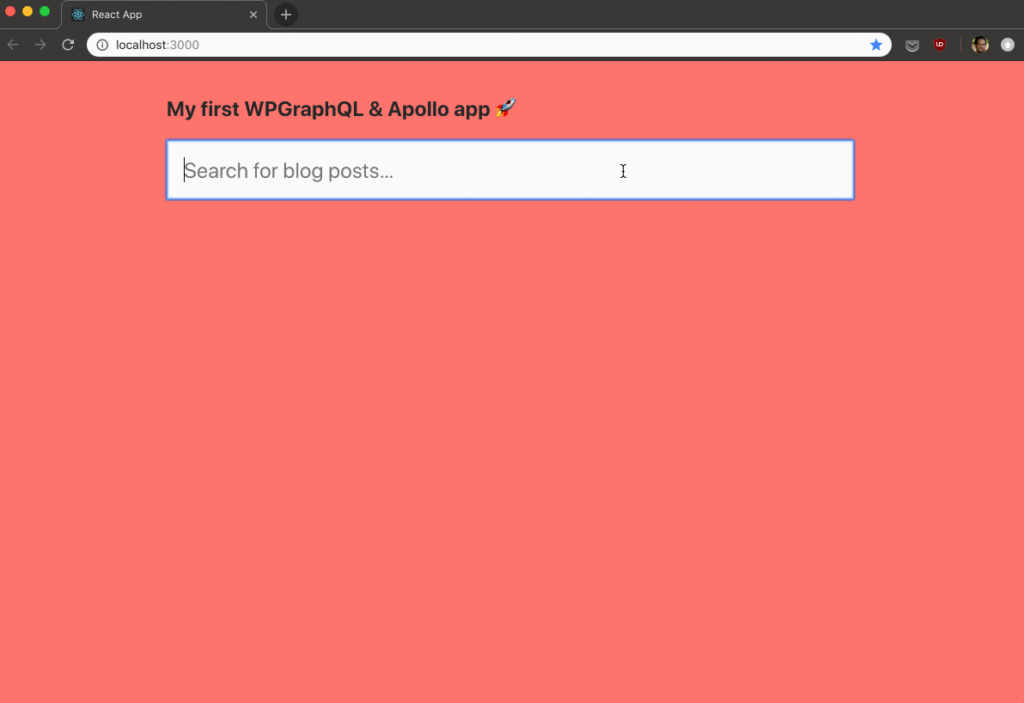
The completed app is available in the WPGraphQL Examples repo.
In order to use GraphQL, you need software running on the server to receive requests, process them then send back a response. Server implementations exist in most popular server-side languages (PHP/Node/Python/etc.). We’ll be using the WPGraphQL plugin on the server, which takes two existing PHP libraries for GraphQL (graphql-php & graphql-relay-php), and layers WordPress-specific functionality on top of them, so that it’s possible to run queries for blog posts, pages, taxonomies, settings, users, and many other WordPress-y things (these are referred to as “types” in GraphQL parlance).
Once the server supports GraphQL, you’ll also need a client-side library to help out with sending the requests to the server and receiving the responses that come back. Many such libraries exist. For our client-side app, we’ll be using Apollo Client.
Steps to Follow
1. Make sure you have node and npm installed and are mildly familiar with React and running commands on the command line.
2. Install and activate the WPGraphQL plugin on the WP site you’d like to pull data from. You should then be able to visit the /graphql endpont in a browser, such as example.com/graphql and see JSON output rather than your site’s 404 page. Don’t worry if you see a “Syntax Error GraphQL” message in the JSON output. That’s expected, since we haven’t sent a valid request to the /graphql endpont yet – merely visited it directly in a browser.
One important distinction to note here: with REST APIs, many different endpoints are used, depending on the type of data you need to send/receive. With GraphQL though, all requests use a single endpoint. The WPGraphQL plugin registers the /graphql route for that purpose.
3. Run these commands to get a fresh app up and running locally using Create React App:npx create-react-app using-react-apollocd using-react-apollonpm start
You can now open http://localhost:3000/ to see your app. You can hit ctrl+c whenever you need to stop it, then npm start whenever you need to get it running again.
4. Install the npm packages we need.npm install apollo-boost react-apollo graphql graphql-tag
Here’s a brief description of each:
- apollo-boost: Package containing everything we need to set up Apollo Client
- react-apollo: Apollo Client view layer integration for React
- graphql: Library for parsing GraphQL queries
- graphql-tag: Library that takes ES6 template literal strings and compiles them into GraphQL ASTs (Abstract Syntax Trees) that can then be passed into Apollo Client
5. Open the project in a code editor. In the /src/ folder of your project, delete all the files except index.js and index.css to clean things up a bit.
6. Replace the contents of /src/index.js with the code below, but swap out “https://content.wpgraphql.com/graphql” with the URL of the WP site you want to pull data from.
import React from 'react';
// Helper function for formatting dates.
const formatDate = date => new Date( date ).toDateString();
const PostCard = ({post}) => {
const { postId, title, date, author, featuredImage } = post;
const { name: authorName } = author;
return (
{ featuredImage && // If a featured image exists, display it.
 }
}
{title}
Date: {formatDate(date)}
Author: {authorName}
);
};
export default PostCard;You can see that we’re creating a new client using Apollo and providing it with the URL endpoint to use for GraphQL requests. We’re also wrapping our entire app in a new ApolloProvider and passing to it the client we created as the client prop. The result of this is that we’ll now be able to use the react-apollo library to make GraphQL requests anywhere inside of our app.
7. Replace the contents of /src/index.css with this code to give our app some style. ????
8. You may have noticed that /src/index.js tries to import a PostsSearch component that doesn’t exist yet. Let’s fix that! Create a new /src/PostsSearch.js file and paste in this code:
import React, { Component } from 'react';
import PostsList from './PostsList';
class PostsSearch extends Component {
state = {
searchQuery: ''
}
handleSubmit = event => event.preventDefault();
handleInputChange = event => {
const { name, value } = event.target;
this.setState({ [name]: value });
};
render() {
const { state, handleSubmit, handleInputChange } = this;
const { searchQuery } = state;
return (
{searchQuery &&
This component provides the input in which users can type the text they’d like to search for. Once the search field is populated with text, it renders the PostsList component (which we’ll create next), providing the search query to it as a prop.
9. Create a new /src/PostsList.js file and paste in this code:
import React from 'react';

// Helper function for formatting dates.
const formatDate = date => new Date( date ).toDateString();

const PostCard = ({post}) => {
  const { postId, title, date, author, featuredImage } = post;
  const { name: authorName } = author;

  return (

    { featuredImage && // If a featured image exists, display it.

    }
      {title}

        Date: {formatDate(date)}


        Author: {authorName}


  );
};

export default PostCard;This is where the magic happens ✨. At the top, we’re defining a POSTS_SEARCH_QUERY GraphQL query. It takes in a search string as an argument and tells WPGraphQL to search for WordPress blog posts that match it, and send back their data. Notice that unlike a REST API where you have no control over which data is sent back in the response, here we are telling WPGraphQL exactly what data we’d like to get back, and the shape to put it in.
In GraphQL, “edges” represent connections between nodes, and “node” is a generic term for an object – in our case those objects will be blog posts.
You can also see that we’re using the Query component and passing to it our query as well as the search string to use as the argument it gets. Query handles all the heavy lifting and provides a render prop. We are immediately destructuring the three props we receive into loading, error, and data variables. After that we have some declarative JSX code to handle all possible scenarios. Different things are rendered depending on whether:
- the query is currently in progress (loading)
- an error has occurred
- matching posts were NOT found, or
- matching posts WERE found
If matching posts were found, we map over them and render out a PostCard component for each (which we’ll create next).
10. And now for our final PostCard component that will handle rendering each individual post card. Create a new /src/PostCard.js file and paste in this code:
import React from 'react';

// Helper function for formatting dates.
const formatDate = date => new Date( date ).toDateString();

const PostCard = ({post}) => {
  const { postId, title, date, author, featuredImage } = post;
  const { name: authorName } = author;

  return (

    { featuredImage && // If a featured image exists, display it.

    }
      {title}

        Date: {formatDate(date)}


        Author: {authorName}


  );
};

export default PostCard;That’s it! Once those four JS files and one CSS file are in place, you should be able to run npm start (if the app’s not already running), then visit http://localhost:3000/ and try searching for some blog posts. Any string you type will be used to search both blog post titles and their content, and the matching results will pop into view.
Let’s contrast our app from one using a traditional REST API for a minute –
If you were to build an app like this using a REST API, you’d potentially have to make multiple requests back to the server to get all the data you need. The first REST endpoint may take in a search string as an argument and respond with a list of the post IDs for the matching search results. You’d then have to take those post IDs and make another request back to the server to get all of the data you need for those posts (title, date, author, featured image, etc.). Extra, synchronous round trips like that back to the server can be expensive and slow down your frontend app. By contrast, with GraphQL, everything can be fetched in one request. For example, you could build a complex query for getting the most recent 10 posts, then for each of the authors of those, get some of their user data (name, email, etc.) as well as a list of their 3 most recent posts in a particular category. If you’re using GraphQL, all of that data could be fetched from the server in a single request and returned to your frontend app all at once, formatted in exactly the way you requested.
This example app merely scratches the surface of what can be done with these technologies. You can dig into the documentation for WPGraphQL to learn more about working with mutations (changing or deleting data), implementing authentication, defining your own GraphQL types, connections and resolvers, and much more.
Apollo Client also has lots more to offer from sending requests for mutations to the server (in addition to query requests, like the one we send in this example app), caching query data locally, providing you with a global app data store using Apollo Link State, pagination, and many other features.
Now go forth and see what other cool things you can build with these technologies. ????